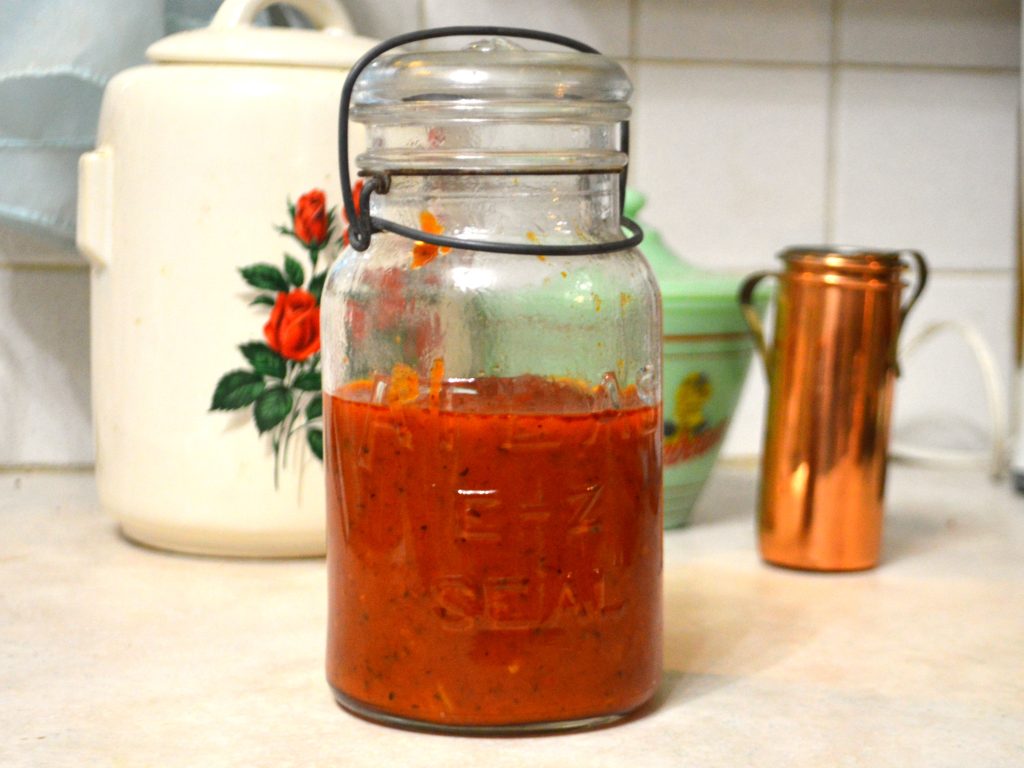
A couple of weeks ago, I was planning a birthday party for my daughter at which I planned to serve pizza rolls. While checking ingredients, I realized that I had no tomatoes to make sauce, but I did have two quarts of tomato juice left over from Bloody Marys. Knowing that I was unlikely to use the juice for anything else, I decided to try making my pizza sauce from the juice, although I was a little concerned that juice would have too much liquid to cook down into a nice, thick sauce. Quite the contrary – it turned out that the sauce was a great way to use up the leftover tomato juice!
In fact, juice was an even better choice than tomatoes in some ways. Because the juice is nice and smooth, you can skip the step of peeling and seeding tomatoes or removing the skins and seeds with a food mill. The sauce ended up velvety-smooth and rich right out of the pan. Best of all, cooking the juice down actually took less time than cooking down chopped tomatoes!
This rich, hearty sauce would also be excellent over pasta!
Here’s how I made mine; you can, of course, substitute juice for fresh or canned tomatoes in your own favorite recipe. For reference, I ended up with about three cups of sauce from two quarts of juice.
From-Scratch Pizza Sauce with Tomato Juice
1 tablespoon lard or other cooking fat
1/4 cup finely chopped onion
4 cloves garlic, minced
2 teaspoons dried Italian herbs or 2 tablespoons chopped fresh basil, parsley, and oregano
1/4 teaspoon red pepper flakes
2 quarts tomato juice
Salt and ground pepper to taste
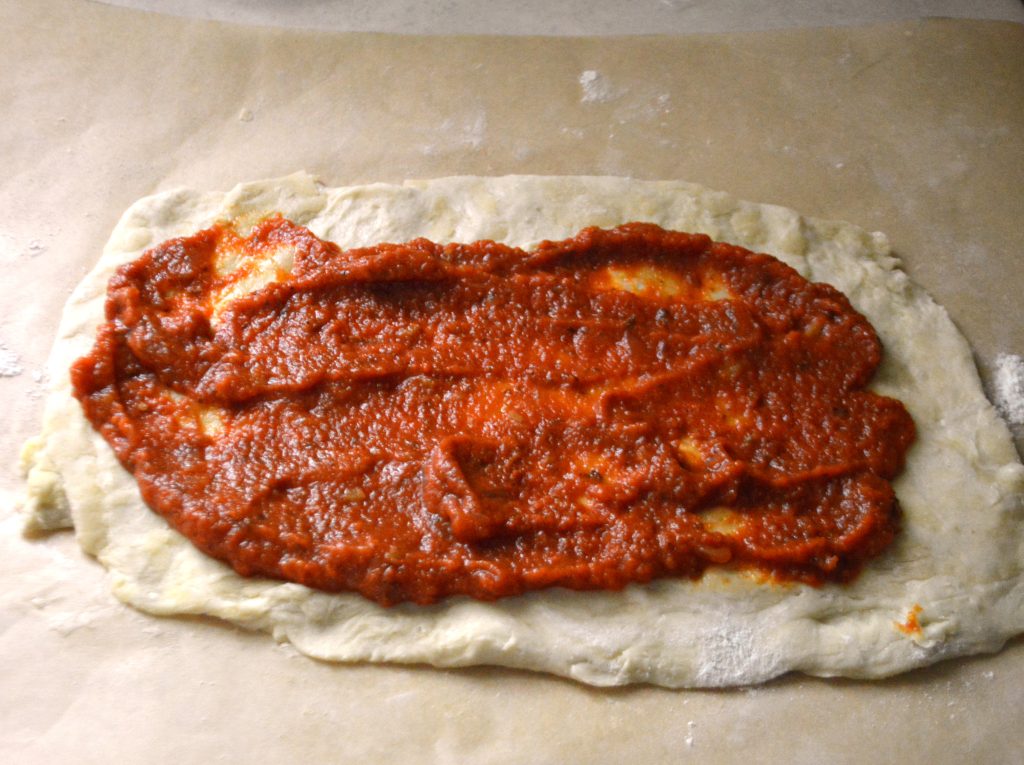
In a 4-quart saucepan, warm the cooking fat over medium heat. Add onions; sauté until translucent and tender. Add the garlic, Italian herbs, and red pepper flakes and sauté a minute longer until fragrant. Slowly add the tomato juice, stirring to combine. Reduce the heat to low, cover the pan with a splatter screen, and allow the sauce to simmer, stirring occasionally, until reduced to your preferred consistency. This should take about 10 to 15 minutes. Once the sauce is reduced, taste for seasoning and add salt and ground pepper and more red pepper if desired. Yield: About 3 cups of sauce.
If you make this recipe, please let me know what you thought in the comments below!
If you’re a fellow vintage lover, be sure to check out our online shop, Pink Nose Vintage. We’re happy to offer readers of our blog 20% off purchases! Please use coupon code PNVBLOG at checkout.
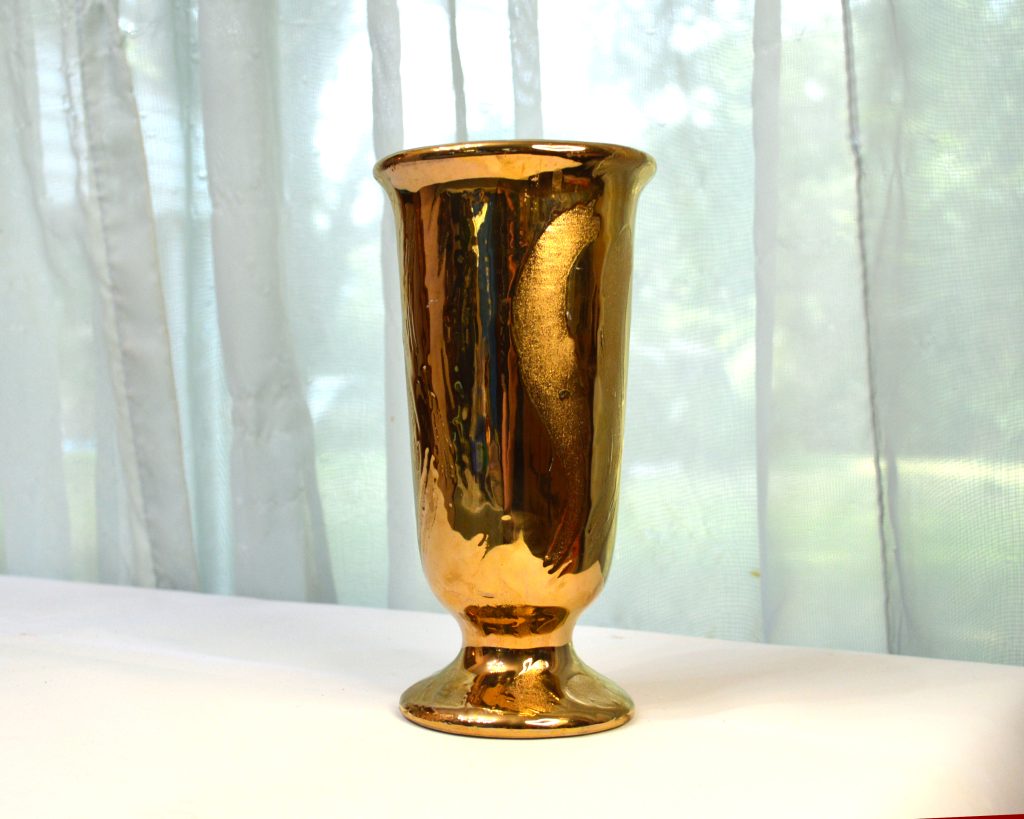
I’m a big fan of all things midcentury and Hollywood Regency, so when I found my first piece of Weeping Gold decades ago, it was love at first sight! What is it, though? Why did it get so popular, and why did it disappear? And how do you clean and care for Weeping Gold? Let’s dig in!
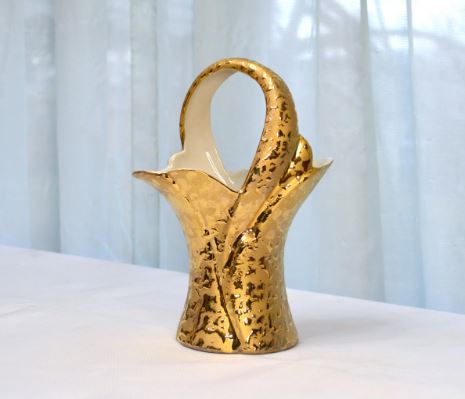
The first piece of Weeping Gold was produced by Kingwood Ceramics in East Palestine, Ohio, in the late 1930s to early 1940s. The procedure involved glazing pottery with a textured glaze, which was followed by a layer of molten gold. The texture under the gold gave a dripping, mottled effect, which was thought to look like tears, so the resulting finish was dubbed “Weeping Gold”. The process was never patented, so Weeping Gold ware was made by a variety of manufacturers, many of them right here in Northeast Ohio.
Weeping Gold hit the market at the end of World War II, when a prosperous American middle class was eager to forget the deprivations of the war. New houses were being built and furnished at breakneck pace, and anything new and shiny was bound to catch consumers’ eyes. Weeping Gold had it all: A brand-new manufacturing process, a lovely and useful product that no one had ever seen before, a luxurious look that many associated with the glamour of Hollywood, and a reasonable price tag thanks to the relatively low and stable price of gold.
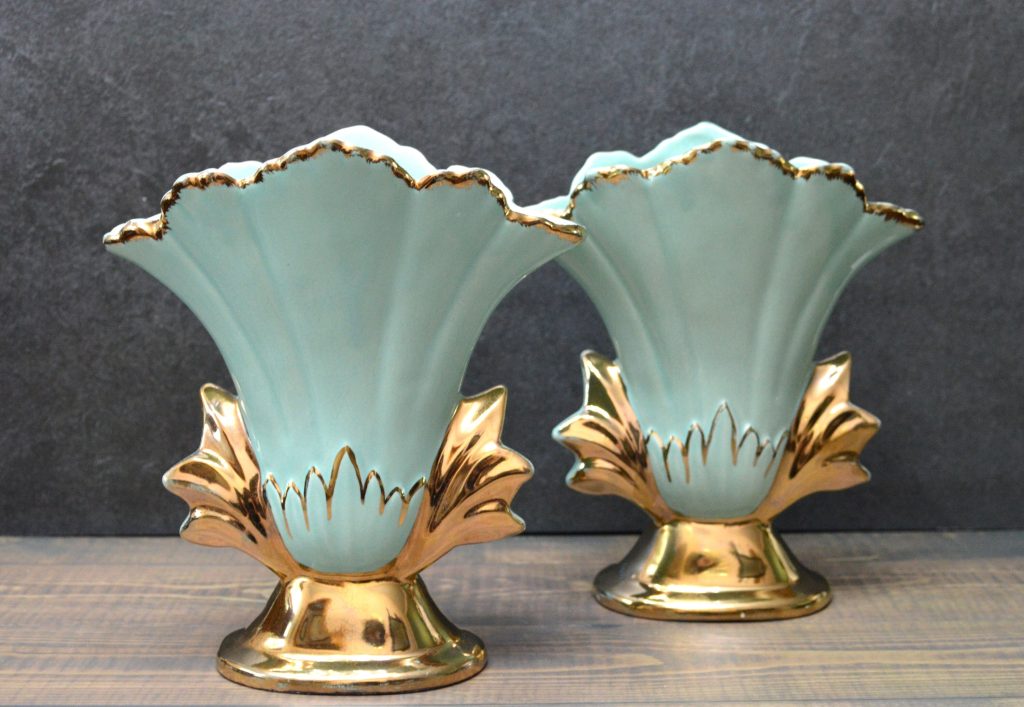
As Weeping Gold grew in popularity, manufacturers innovated to create new art forms using the process. Deena Artware Company of Paducah, Kentucky, introduced a line called Savoy that combined ceramics glazed in beautiful colors with weeping gold accents. Other manufacturers used a textured glaze resembling brushstrokes to create pieces with graceful sweeping lines contrasting matte and shiny surfaces. Some pieces were glazed in a uniform solid gold finish, with no “weeping” at all.
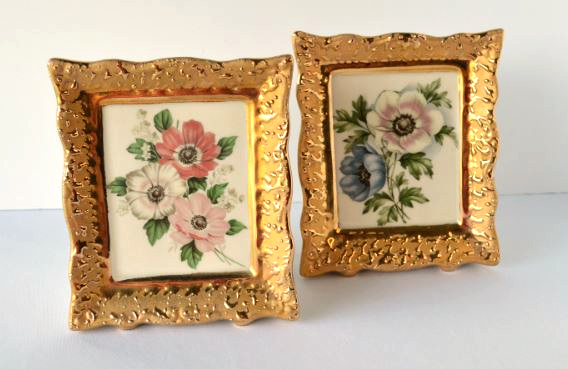
Glazed Ceramic Vases with Solid Gold Glaze by Unknown ManufacturerSwirled Gold Vase by Swetye Ceramic Artware of Salem, OhioWeeping Gold “Photo Frame” Wall-Hanging Planters by Unknown Manufacturer
Many household items, both useful and decorative, were produced in Weeping Gold. Vases, planters, figurines, and bowls were all popular and added a touch of Hollywood pizazz to midcentury homes.
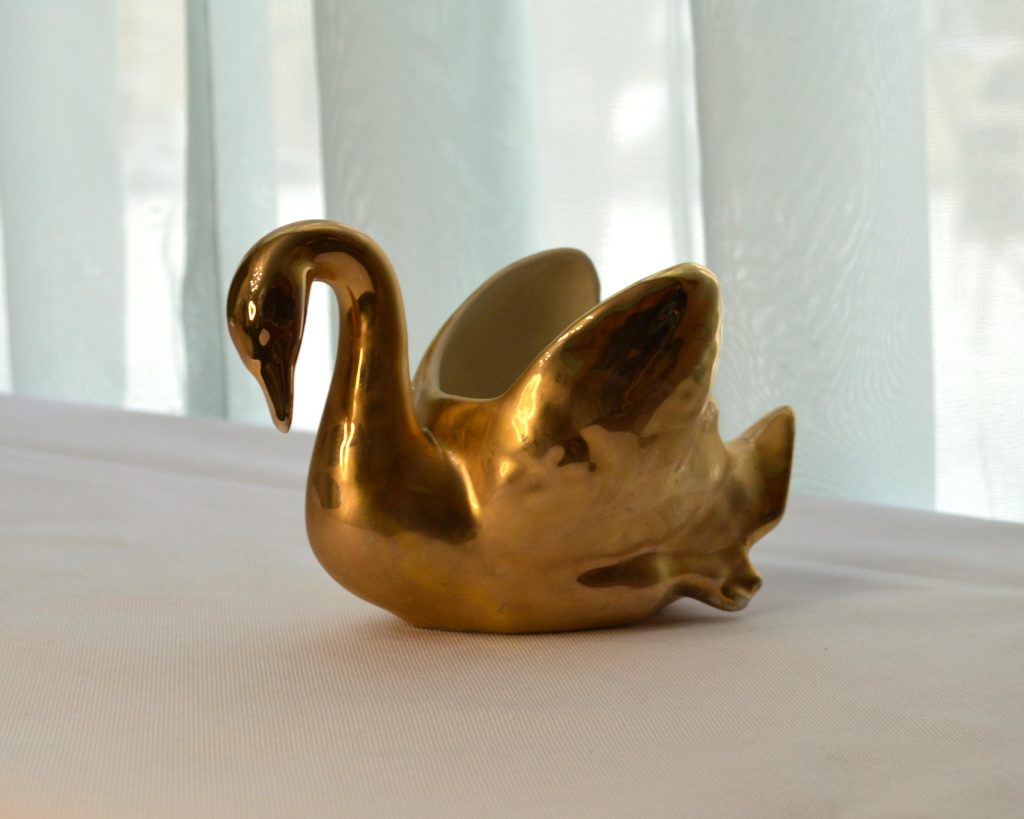
Weeping Gold Nut Dish by Unknown ManufacturerGold-Plated Swan Figural Planter by Unknown Manufacturer
Eventually and inevitably, consumer tastes started to change and the price of gold started to rise. By the late 1960s, the price of gold had increased to the point that Weeping Gold ware was no longer profitable for manufacturers, and it disappeared from the market. Luckily for those of us who love it, however, weeping gold ages extremely well, and many pieces can still be found, just as bright and shiny as when they left the kiln decades ago.
How to Care for Weeping Gold
Weeping Gold items can safely be washed by hand using a mild dish soap and hot water. Avoid abrasive or harsh chemical cleaners or scouring pads that could damage the gold. Occasional dusting and buffing with a soft cloth will keep your weeping gold display pieces bright and shiny.
If you’re a fellow Weeping Gold afficionado, you’ll usually find some at Pink Nose Vintage. We’re happy to offer readers of our blog 20% on purchases! Please use coupon code PNVBLOG at checkout.
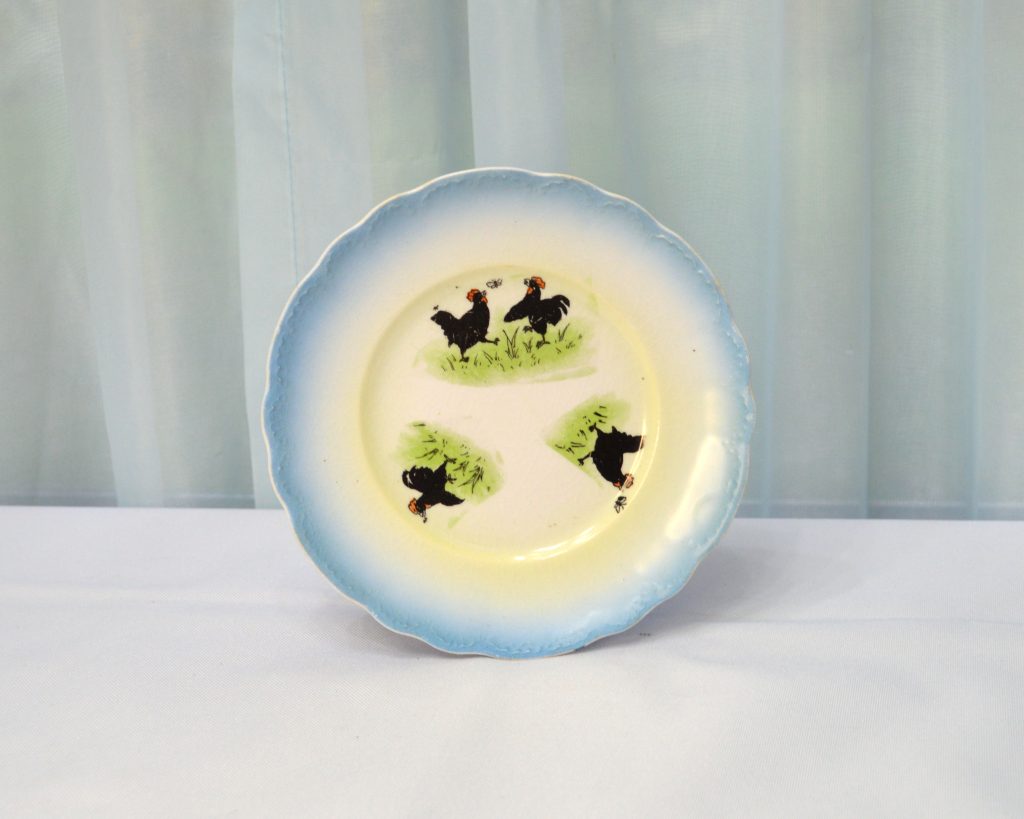
Interesting, whimsical, unusual…all of that! I knew this was a special piece when I first saw it.
This is an antique plate from Homer Laughlin. The shape is Hudson, which Homer Laughlin produced from 1908 to 1929. There’s no date code on the back, but the shape name is written in script; Homer Laughlin had switched over to block lettering by 1917. This would seem to indicate that this piece was made between 1908 and 1917, but the motif would be more at home in a 1940s kitchen!
Hudson was intended to compete with French Haviland, which you can gather by looking at the scalloped edge and delicate embossing around the verge. Most of the patterns produced on this shape are what you’d expect – plain white with gold trim or lavish floral designs – which makes this one a bit of an oddball. It’s 7.25 inches diameter, so judging by the size, it would be a salad plate. But those chickens!
I’m guessing that this was intended as a child’s plate, or that the decals were added later, although they appear to be original. Maybe the designer of this one was just ahead of the times. Let me know in the comments if you have any clues to how the roosters ended up on this 1910s faux-Haviland plate!
The plate is available in our Etsy shop at this link: https://pinknosevintageltd.etsy.com/listing/1815708157
Have you found your dream china set at an antiques store? Do you have an heirloom set that’s been passed down through generations of your family? Here are some tips to keep them sparkling and beautiful!
Vintage china sets are one of my weaknesses. I fall in love over and over with the stunning patterns and colors. Contemporary china patterns just can’t compare! Once you’ve found or inherited your perfect set, here are some ways to keep it looking great.
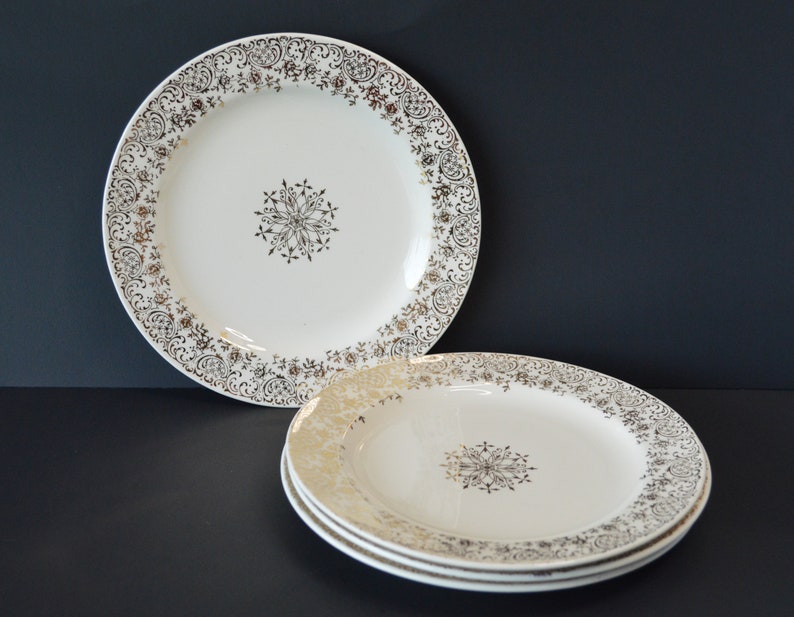
Dish Sets with Gold Trim or Decoration
Gold prices dipped beginning in the 1940s and didn’t start climbing again until the 1970s. Since gold was relatively inexpensive, it became a popular trim for dishware and housewares throughout the 1950s. The popularity of gold trim began to dip in the 1960s, when a more “mod” look became popular. Some sets had exclusively gold trim, like these stunning plates from Edwin M. Knowles. Others had gold trim just around the edge or the verge. Platinum trim was less common, but still readily found.
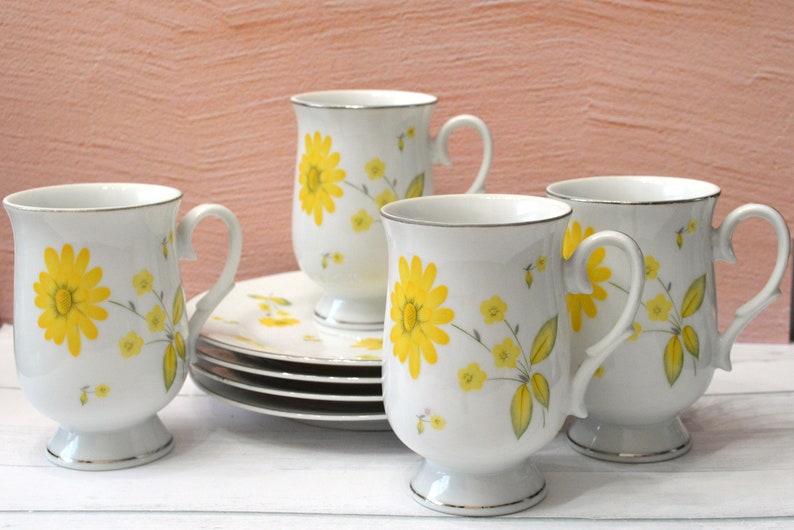
The following tips are also true of most dinnerware from the 1960s and earlier, such as those with underglaze decal decorations, even if they don’t have gold or platinum trim.
Regardless of the type of metal used or the extent of the decoration, vintage plates should be hand washed to keep them looking their best. If you place them in the dishwasher, the metallic trim will wear off pretty quickly. Use a mild dish soap and avoid citrus-scented soaps. I prefer classic Ivory liquid dish soap for my vintage dishes. Very hot water, too, can cause crazing or even cracking due to temperature fluctuations. The purpose of the dish soap is to remove residue and kill germs. Warm water is sufficient for hygiene and will protect your dishes from damage.
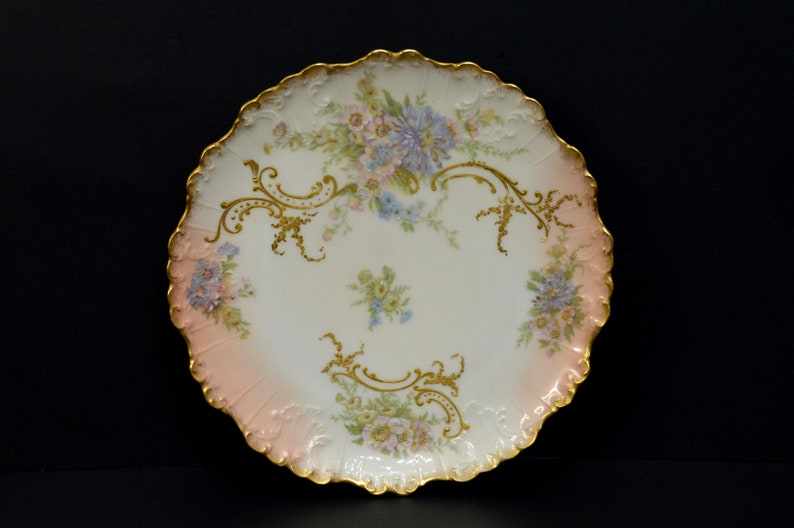
Antique Dishes
Antique dishes, such as the Limoges plate shown here, also tend to be very lavishly decorated with gold trim and fancy floral motifs, often hand-painted. If you’re lucky enough to have a set of this exquisite dinnerware, be sure to treat it with special care!
As with gold-trimmed dishes, antique dishware can’t stand up to the dishwasher. Careful, gentle handwashing with a mild, non-citrus dish soap will keep it looking good. When washing antique or heirloom china, I line the bottom of my sink with a folded dishtowel. This way, if a piece slips out of my hand, it’s less likely to break. As with other older dishes, use warm water, not hot. Wash antique or heirloom dishes as soon as possible after use. Leaving food residue on the dishes can cause stains and wear.
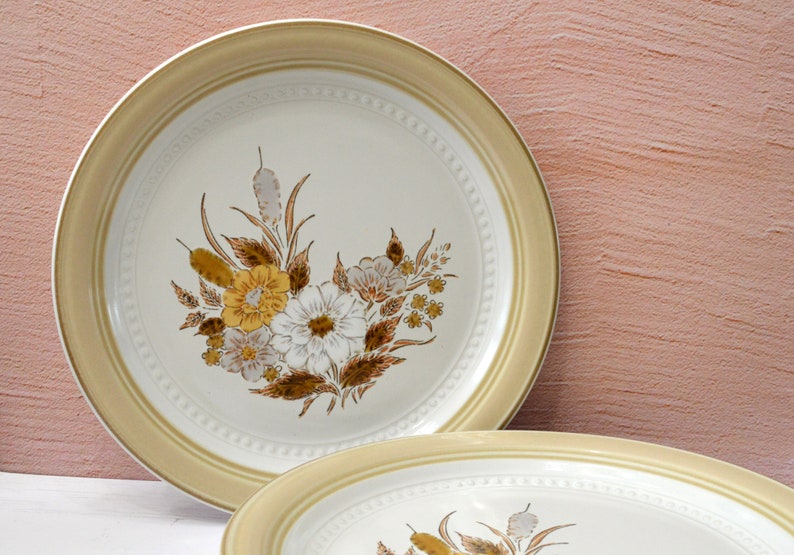
China from the 1970s or Later
If your vintage china is more recent, such as these stoneware plates by Johann Haviland, they’re a little easier to care for and a better choice if you don’t enjoy handwashing. Dishwashers were invented all the way back in 1886 by Josephine Cochrane, but they didn’t become common in homes until about the 1970s. Therefore, china didn’t become dishwasher-safe until about the 1970s! Most china produced in the 70s or later will be safe in the dishwasher. If it shouldn’t go in the dishwasher, it will usually be marked “Hand Wash Only” on the back. “Hand Wash Recommended” means just that – you can put it in the dishwasher, but handwashing will ensure that your lovely dinnerware isn’t damaged. These plates can usually be left soaking in the sink if needed and aren’t susceptible to crazing from high water temperatures.
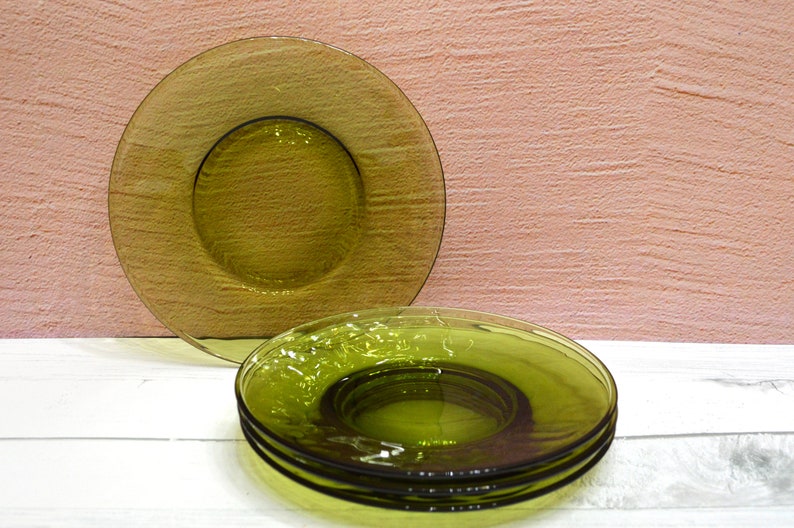
Glass and Milk Glass
Most undecorated glass and milk glass dishes can also go in the dishwasher, with a few caveats. If you have hard water, any glass washed in the dishwasher will be prone to etching – it looks like the glass is dirty, but it’s actually many microscopic scratches all over the piece and can’t be removed. If that’s an issue in your area, definitely skip the dishwasher with vintage glass. Also, if your glass plates have any sort of decoration or trim, the dishwasher will take it off over time (and that includes vintage Pyrex!). Mild soap and gentle hand washing are especially important if your glass has metallic trim. Washing with harsh soaps or rubbing the trim will wash it off. Depression glass also should be hand washed, regardless of decoration. Milk glass plates from the 1960s or newer won’t be harmed by the dishwasher, but handwashing in warm water is always safer for antique, heirloom, or valuable milk glass.
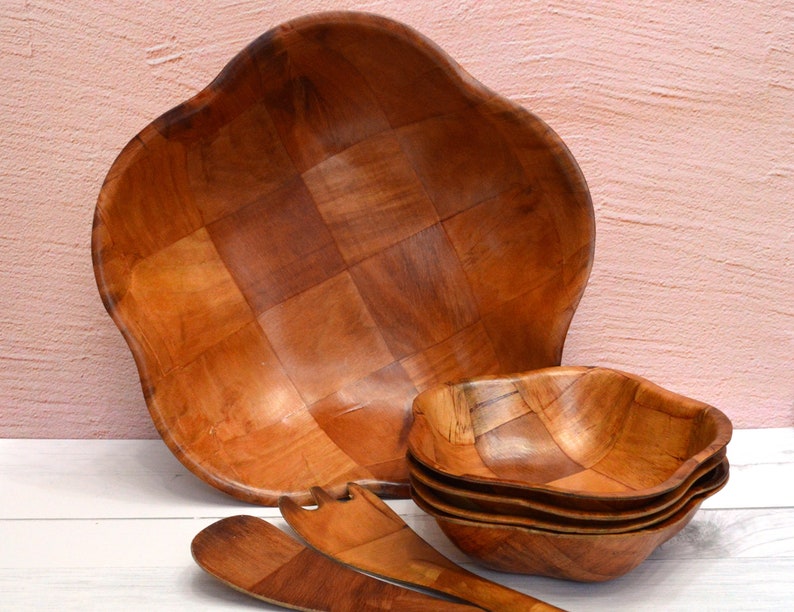
Wood Dishes and Serving Ware
Wood dishes, like this salad serving set, became popular in the 1970s and 1980s. The dishwasher will destroy wood. Wood dishes or serving pieces are always hand-wash only. To avoid staining, don’t use them with strongly-colored foods (looking at you, beets) and wash them as soon as you’re done using them. Don’t allow them to air dry – the water can seep into the wood and ruin it. Dry them with a dishtowel as soon as they’re washed.
Some General Advice
I’ve washed a lot of dishes over the years, and here are a few mistakes I’ve made so you don’t have to repeat them!
Be mindful of keeping dishes clear of the faucet when washing and rinsing. I’ve broken more than one plate or cup by accidentally whacking it against the faucet!
When you stack dishes in a dish drainer or drying rack, place the larger pieces toward the back and shorter pieces toward the front. Start with the last spot at the back and place the dishes in front of each other. If you don’t, you might accidentally chip an antique Haviland dinner plate by hitting the edge with a second plate you’re trying to place behind it. (Yes, I did that. Ouch!)
I mentioned it earlier, but in case you missed it – if the dishes are valuable, irreplaceable, or sentimental, use a folded towel in the bottom of the sink to lessen the chance of breakage if a wet dish slips out of your hand.
Temperature changes are dangerous for china and glass. Don’t put cold dishes in hot water, and don’t put vintage or antique china in the oven unless it’s explicity marked “Oven Safe”. Check that burners are off and cool before placing china or glass on the stovetop.
And a tip from the WWII era – when you wash your china, dishwashing gloves will work wonders for keeping your hands soft and your nails unbroken!
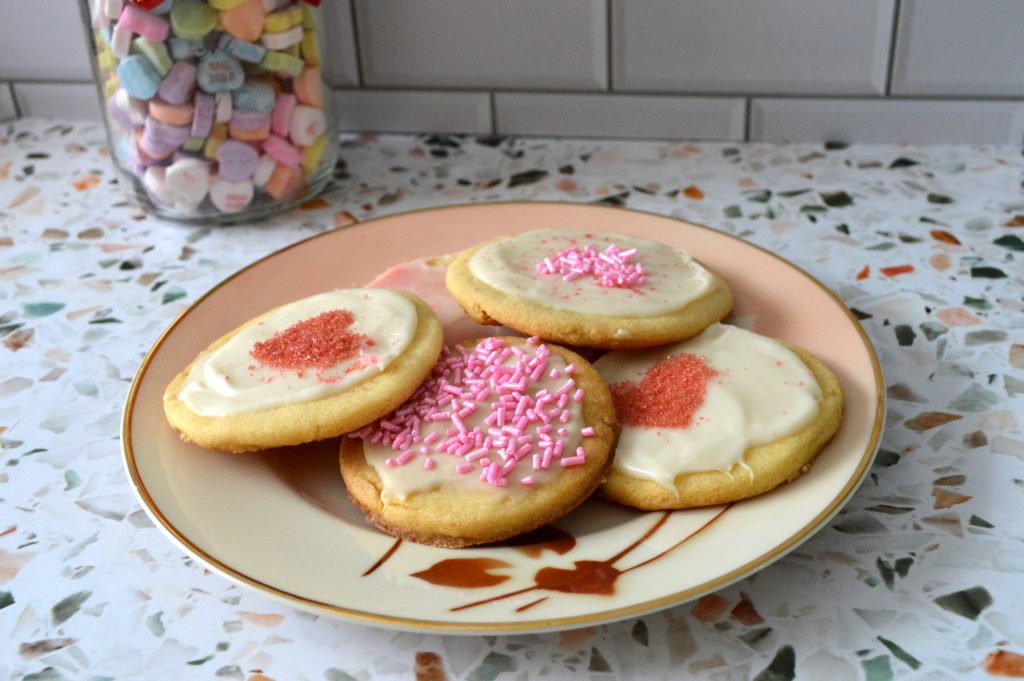
These are the perfect sugar cookies – chewy, soft, and with a delightful vanilla flavor.
I got this recipe years ago from a work friend who got it from a magazine (sorry, I don’t know which one!) that claimed that this was Mamie Eisenhower’s own recipe that she served to visiting dignitaries. I don’t know how accurate that origin story is, but I do know that this is the only sugar cookie recipe I’ve ever tried that comes out just the way I want it every time I make it! I suspect that using egg yolks and cream instead of whole eggs and milk is the secret. I usually roll these to about 1/4 inch thick and bake for 8 minutes, which results in a soft, tender cookie. If you like a crispy cookie, roll the dough thinner and/or bake a few minutes longer. Chewy or crispy, the flavor is superb!
Mamie Eisenhower’s Sugar Cookies
1 1/2 cups flour
1/2 tsp salt
1 tsp baking powder
1/2 cup butter, softened
1 cup sugar
2 beaten egg yolks
1 tsp vanilla
1 tbsp heavy cream
Whisk flour, baking powder, and salt in a small bowl. Cream butter. Add sugar slowly and beat until fluffy. Stir in well-beaten egg yolks and vanilla. Add dry ingredients alternately with cream. Chill at least 1 hour.
Roll to desired thickness and cut with a cookie cutter or the edge of a drinking glass dipped in flour. Sprinkle with sugar and bake at 375 degrees F for 8 to 12 minutes (time will depend on thickness of dough and desired crispness).
I ice these with:
1 cup powdered sugar, sifted, stirred together with 2 tsp vanilla extract., a few drops of liquid food coloring, if desired, and enough cream to thin to spreading consistency.
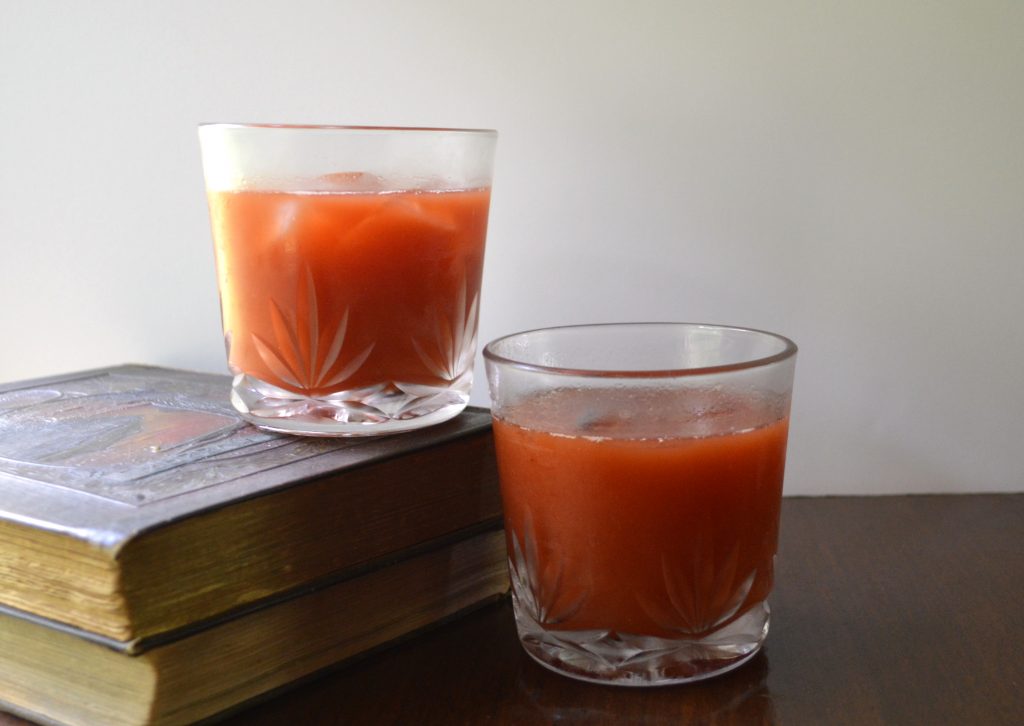
Simple, easy Bloody Marys are a classic savory cocktail.Before Bloody Marys became firey hot and topped with outlandish garnishes, they were a simple savory cocktail. This easy Bloody Mary is based on an authentic 1950s recipe. Serve it up at your next brunch and you’re sure to get compliments!
Easy Bloody Marys
Ingredients:
6 jiggers tomato juice (9 fluid ounces; 1 cup plus 2 tablespoons)
3 jiggers vodka (4.5 fluid ounces; 1/2 cup plus 1 tablespoon)
1 pony lemon juice (1 fluid ounce; 2 tablespoons)
1 teaspoon Worcestershire sauce
Pinch of salt
Pinch of ground black pepper
2 dashes Angostura bitters
Combine ingredients in a shaker with ice; strain into chilled rocks glasses. Serve with ice if desired.
This recipe makes two cocktails. If you’re serving a crowd, double or triple the ingredients and blend in a blender with ice.
Living your best vintage life? Check our website for articles you might enjoy!
Buying clothes online is hard enough, but vintage clothes are even more of a gamble. Materials and sizing have changed a lot over the decades, and both of those affect how the clothing will fit. Here are a few steps you can take to ensure that your happy mail doesn’t turn into a disappointment!
Buy from an established seller. If you’re buying on a marketplace site such as Etsy or eBay, check the seller’s reviews to see what other shoppers have to say. For an independent website, search online for reviews. One or two poor reviews out of many may not indicate a problem, but a pattern of negative experiences should make you think twice.
Check the seller’s policies before you buy. Most independent websites accept returns, but many marketplace sellers do not. That means that if the piece doesn’t fit or you aren’t happy with how it looks in person, you’re likely stuck with it. If that’s not a risk you’re willing to take, make sure that you’re comfortable with the return policy before you buy!
Read the seller’s descriptions thoroughly. A well-written description should give you all the information you need to feel comfortable making a purchase. If the seller’s descriptions don’t inspire confidence, move on!
Don’t rely on a stated numeric or letter size; check the measurements. The seller may give the vintage size if the item is marked, but vintage sizes don’t correspond at all to modern sizes, and sizes varied between manufacturers. Even if the seller gives an estimate of the modern size of the garment, you’ll be less likely to be disappointed if you go by the measurements.
Keep in mind that the measurements given by the seller may be the garment measurements and not the body measurements that the item will fit. The policies, FAQs, or description should tell you what the measurements represent. If a dress has a 36-inch bust and you have a 36-inch bust, the dress isn’t likely to fit you! Some websites may give body measurements, but many marketplace sellers list the garment measurements.
Consider garment construction – will the garment have any stretch? The seller may mention this in the description. If you’re familiar with fabrics, you may be able to tell from the type of fabric or how the garment is made. For instance, a knitted fabric will likely have at least some give, but a woven cotton will not. If the measurements are a little small and the fabric won’t stretch, the garment likely won’t work for you.
Inspect the garment as soon as possible after you receive it. Check the seams and hem to make sure the stitching is sound. Look closely for stains or holes. Try the garment on and check for fit, but don’t force the garment on if it’s too small! If you damage it, the seller may not take it back. Hopefully, everything is perfect, but if you discover an issue, notify the seller right away; don’t wait until the end of the return window!
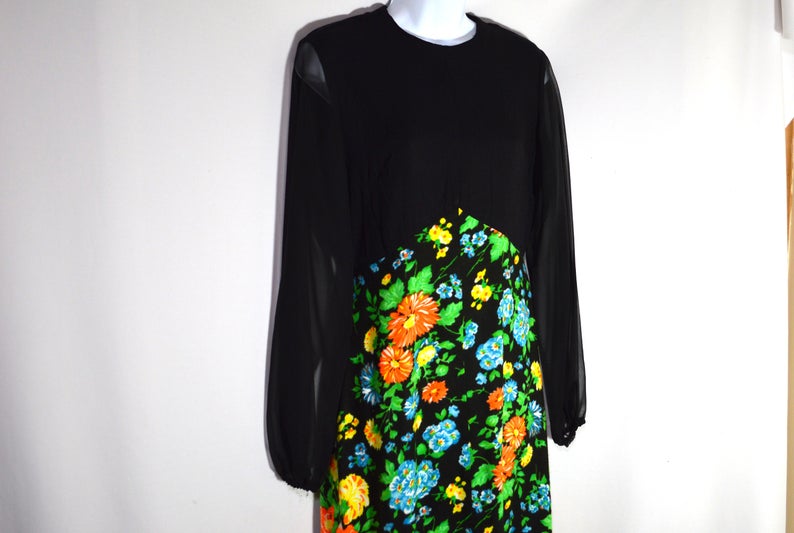
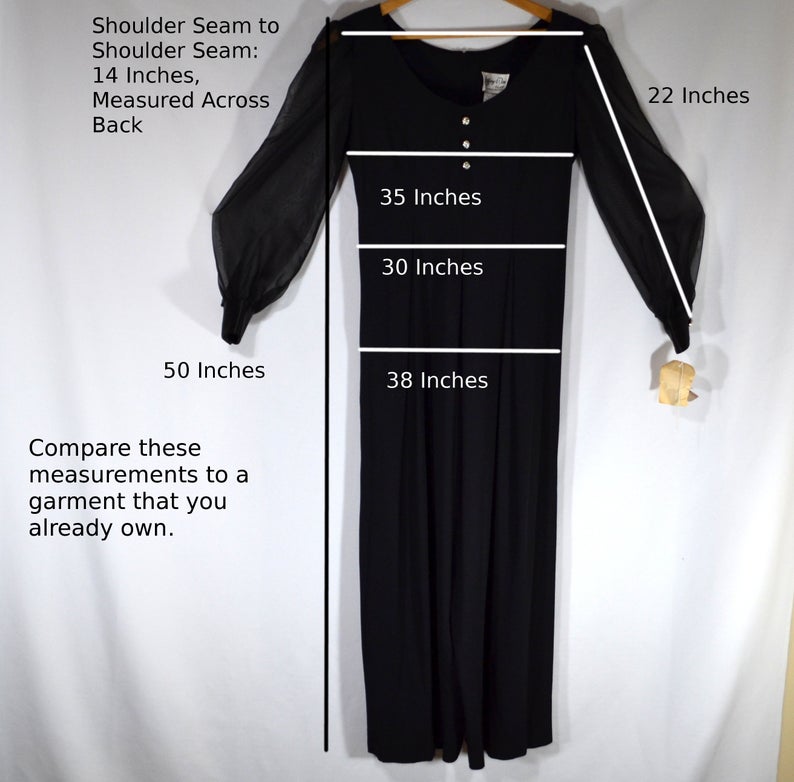
How to Measure for a Perfect Fit
The best way to determine if a piece will fit is to find a garment that you already own, whether vintage or modern, that’s similar to the piece you’re considering and fits the way you want the vintage piece to fit. Lay the garment on a table or other hard surface and use a measuring tape to take the same measurements that are given in the listing.
Here are some of the common measurements that you’ll need to know when shopping for vintage clothes online:
Bust: Measure from the side seam directly below one armpit to the side seam directly below the other armpit.
Waist: Measure the narrowest part of the garment between the bust and hip.
Hip: Measure about 7 to 9 inches below the waist.
Shoulder seams: Turn the garment so that the back is facing you and measure the distance from one shoulder seam to the other.
Sleeve length: Measure from the top of the sleeve to the edge of the cuff.
Garment length: Measure from the shoulder seam to the hem.
Once you have the same measurements that you see in the listing, compare the numbers. The measurements may not exactly correspond, but if they’re close, you should be good to go! Remember to take into account how close-fitting the garment is or if it will have any stretch when you compare the numbers. An inch smaller around the waist won’t matter much for a knitted sweater, but may make a great deal of difference for a woven cotton shirt dress.
If you have any questions about online shopping for vintage clothes, leave them in the comments section!
To see vintage clothing and more available for sale in our shop, click here.
This website uses cookies to improve your experience while you navigate through the website. Out of these, the cookies that are categorized as necessary are stored on your browser as they are essential for the working of basic functionalities of the website. We also use third-party cookies that help us analyze and understand how you use this website. These cookies will be stored in your browser only with your consent. You also have the option to opt-out of these cookies. But opting out of some of these cookies may affect your browsing experience.
Necessary cookies are absolutely essential for the website to function properly. These cookies ensure basic functionalities and security features of the website, anonymously.
Cookie
Duration
Description
cookielawinfo-checkbox-analytics
11 months
This cookie is set by GDPR Cookie Consent plugin. The cookie is used to store the user consent for the cookies in the category "Analytics".
cookielawinfo-checkbox-functional
11 months
The cookie is set by GDPR cookie consent to record the user consent for the cookies in the category "Functional".
cookielawinfo-checkbox-necessary
11 months
This cookie is set by GDPR Cookie Consent plugin. The cookies is used to store the user consent for the cookies in the category "Necessary".
cookielawinfo-checkbox-others
11 months
This cookie is set by GDPR Cookie Consent plugin. The cookie is used to store the user consent for the cookies in the category "Other.
cookielawinfo-checkbox-performance
11 months
This cookie is set by GDPR Cookie Consent plugin. The cookie is used to store the user consent for the cookies in the category "Performance".
viewed_cookie_policy
11 months
The cookie is set by the GDPR Cookie Consent plugin and is used to store whether or not user has consented to the use of cookies. It does not store any personal data.
Functional cookies help to perform certain functionalities like sharing the content of the website on social media platforms, collect feedbacks, and other third-party features.
Performance cookies are used to understand and analyze the key performance indexes of the website which helps in delivering a better user experience for the visitors.
Analytical cookies are used to understand how visitors interact with the website. These cookies help provide information on metrics the number of visitors, bounce rate, traffic source, etc.
Advertisement cookies are used to provide visitors with relevant ads and marketing campaigns. These cookies track visitors across websites and collect information to provide customized ads.