Recipes

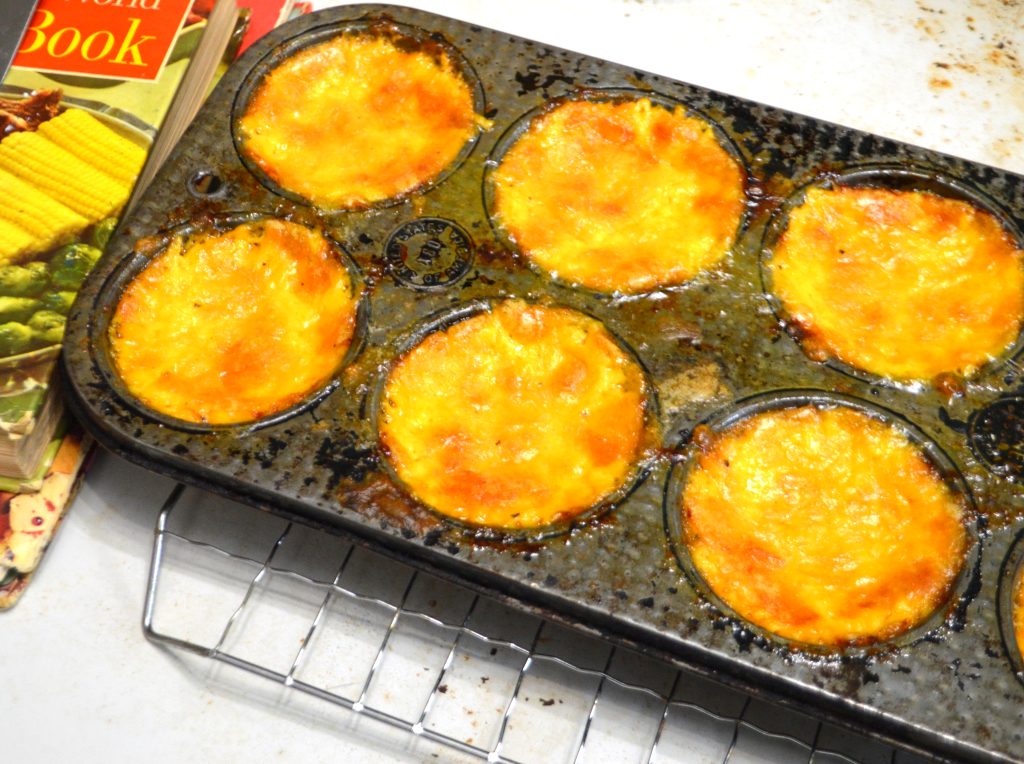
A muffin pan filled with baked cheese sits on a wire cooling rack. Vintage cookbooks are in the background.

Vintage Recipe – Fromage (Baked Cheese)

If your favorite part of the pizza is the melty, gooey cheese, boy, do I have a recipe for you! This recipe is called Fromage, which, of course, is just the French word for cheese. “Baked cheese” might be a more descriptive name for it. The recipe came from The American Woman’s Cookbook, which was first published in 1938. This dish features a metric ton of cheese baked with egg yolks and milk so it sets up into a little muffin, almost like an individual soufflé without the flour. The flavor depends mostly on the type of cheese you choose, but the result is a cheese lover’s dream!

I altered the recipe a little bit from the original. We’re generally low-carb for health and vanity reasons, so I used whipping cream instead of the milk the original recipe called for. Half-and-half also works. I also added pepper for a little more flavor and divided the recipe into eight muffin cups instead of six ramekins. I probably could have made it twelve instead of eight – a little of this goes a long way! You may end up with leftovers, but these happen to also be delicious cold right out of the fridge!

If you do bake these in ramekins, you can serve them right away, still in the ramekins. If you put them in a muffin tin, let them cool for 10 minutes or so before removing them from the tin with an offset spatula.

The original recipe doesn’t specify a type of cheese to use. You can use any kind you like that will melt well in the oven. I made the recipe with block cheddar which I shredded myself. I can’t say whether it would work with pre-shredded packaged cheese, which has starch or cellulose added. Packaged shredded cheese wasn’t introduced until 1958 and originally didn’t contain anti-caking agents, so the recipe was certainly developed using freshly shredded cheese.

Fromage Recipe

2 egg yolks

1 cup milk, cream, or half-and-half

Dash of paprika

1/4 teaspoon salt

1/2 teaspoon ground black pepper, optional

4 1/2 cups shredded cheese

1 teaspoon butter, melted

Beat the egg yolks until thick and lemon-colored. Add the remaining ingredients and stir to combine. Spoon the mixture into eight buttered ramekins or muffin cups. Bake at 300 degrees for 20 to 30 minutes or until set – the cheese will be golden brown and the centers won’t be jiggly. Allow to cool for 10 minutes on a wire rack before removing to a serving platter if using a muffin tin. Serves 8.

If you make this recipe, please let me know what you think in the comments below!

If you’re a fellow vintage lover, be sure to check out our online shop, Pink Nose Vintage. We’re happy to offer readers of our blog 20% off purchases! Please use coupon code PNVBLOG at checkout.

Vintage Recipe – Fromage (Baked Cheese) Read More »
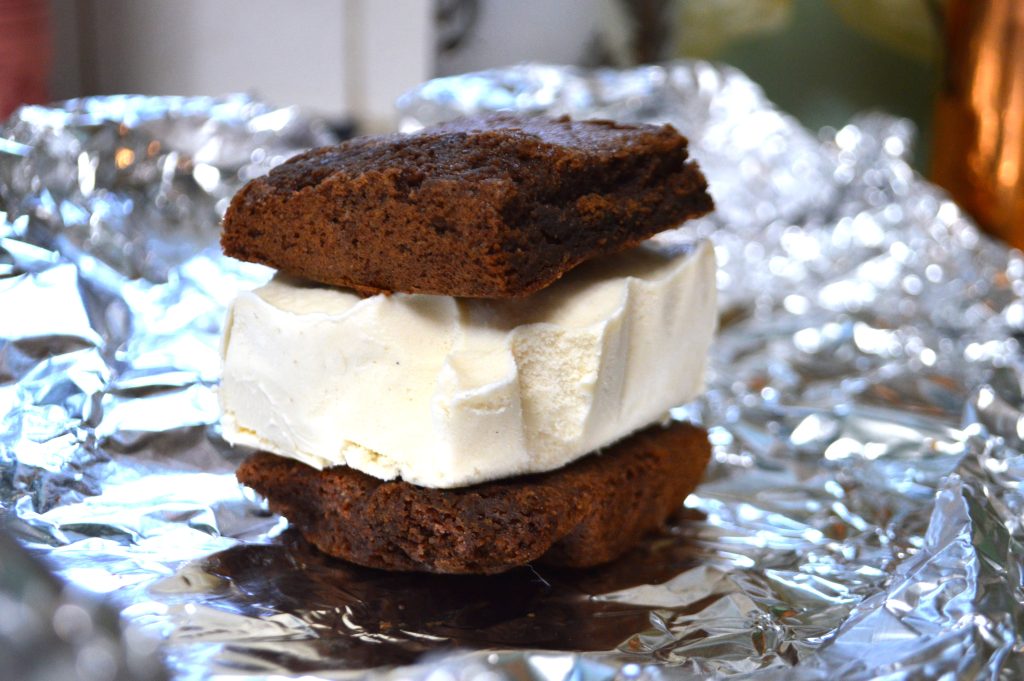
A homemade ice cream sandwich with vanilla ice cream between chocolate cookies on tin foil

Vintage 1945 Homemade Ice Cream Sandwiches Recipe

This recipe for Chocolate Chew Ice Cream Sandwiches comes from the 1945 booklet, “Baker’s Favorite Chocolate Recipes; A Handbook of Chocolate Cookery”. The recipe is for a rich, chewy chocolate cookie, cut into squares and layered with ice cream. My family agreed that without the ice cream, the cookies would make perfect brownies!

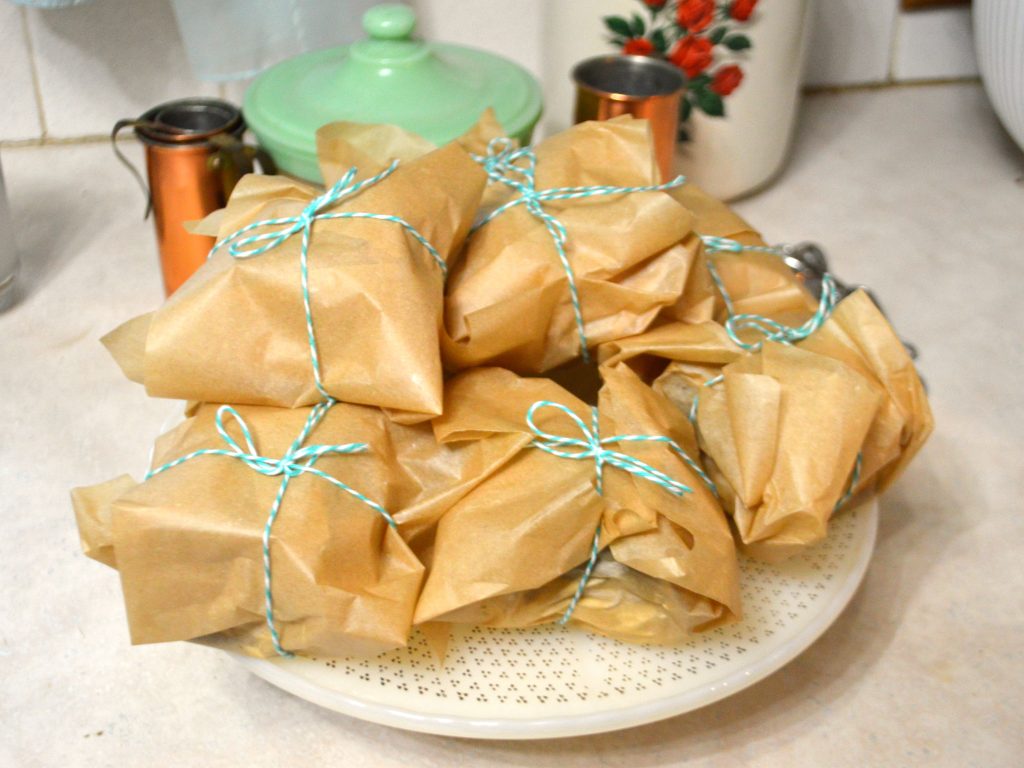
Wrapped individually in parchment, tied with baker’s twine, and stacked on a vintage cake plate, these were a perfect party dessert!

I didn’t tell anyone what they were in advance, so unwrapping them was half the fun!

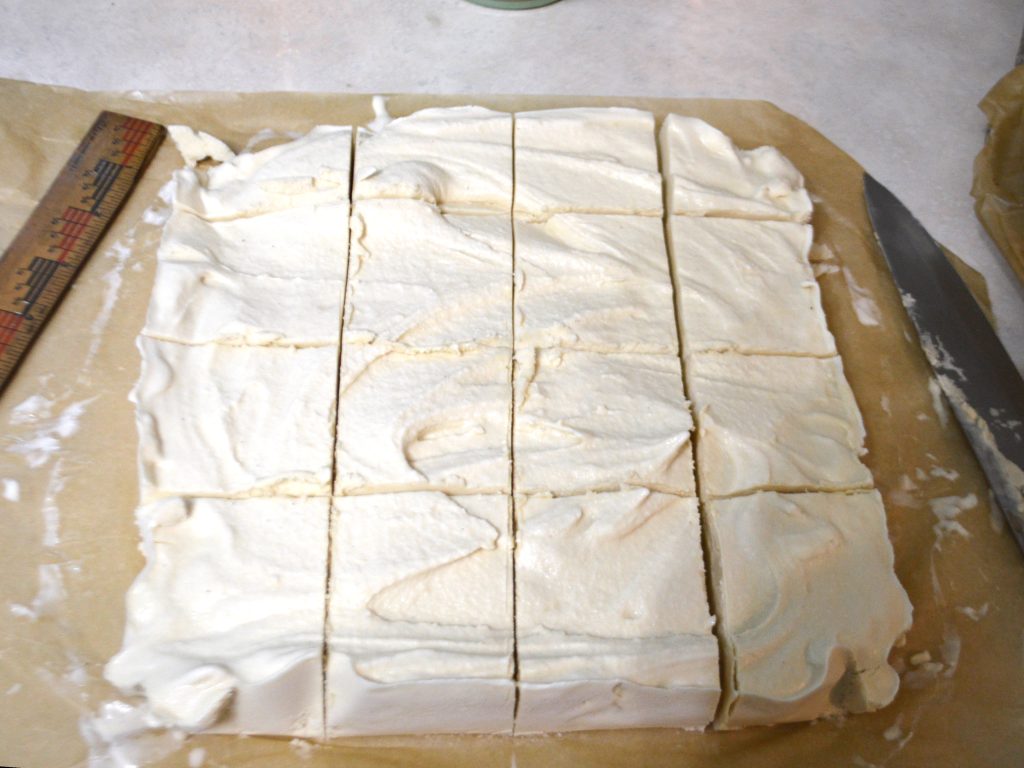
For the ice cream, I used my usual homemade vanilla ice cream recipe, but you could also use store-bought. To make it easier and less messy to assemble the sandwiches, I spread the soft ice cream into the same pan I made the cookies in and cut it into squares the same size as the cookies after it had frozen solid. I think I might start doing this with homemade ice cream every time I serve it! Having the ice cream portioned into squares was convenient not just for the recipe but for individual servings when it came time to eat the leftovers.

Next time I make these, I think I’ll try them with cherry vanilla ice cream!

Chocolate Chew Ice Cream Sandwich Recipe

1/2 cup sifted flour

1/2 teaspoon baking powder

1/4 teaspoon salt

4 tablespoons butter

1 cup sugar

2 well-beaten egg yolks

2 squares chocolate, melted and cooled

1 teaspoon vanilla

2 egg whites

Sift the flour together with the baking powder and salt three times. Cream the butter, then add the sugar gradually, creaming well. Add the egg yolks and blend well. Blend in the melted chocolate and vanilla, then the flour. Beat the egg whites until they hold up in moist peaks and fold into the chocolate mixture. Turn the batter into a parchment-lined 9-by-9-inch pan. Bake at 325 degrees F for 30 to 35 minutes or until set. When cool, cut into 2 1/4-inch squares. Place ice cream between the squares, using two cookies per sandwich. Store in the freezer until serving time, either individually wrapped or stacked with parchment between each sandwich to prevent them from sticking together. Makes 8 ice cream sandwiches.

If you make this recipe, please let me know what you think in the comments below!

If you’re a fellow vintage lover, be sure to check out our online shop, Pink Nose Vintage. We’re happy to offer readers of our blog 20% off purchases! Please use coupon code PNVBLOG at checkout.

Vintage 1945 Homemade Ice Cream Sandwiches Recipe Read More »

A homemade cake on a milk glass cake plate frosted with vanilla buttercream frosting.

Creamy Vanilla Icing Recipe with Raw Eggs

In spite of all the health authorities who tell me not to, I absolutely love using raw eggs in recipes that are intended to be sweet and creamy. Eggs add a velvety texture and a rich flavor that can’t be matched. In this particular recipe, they also add color, transforming what would be a bright white icing into a muted ivory shade that’s perfect for retro-looking cakes or cookies.

The trick to making this icing into a fluffy, ivory-colored cloud is to beat the butter much longer than most icing recipes recommend. For the perfect smooth, creamy texture, the butter should be beaten until it turns almost white and looks very much like soft whipped cream.

This does make the icing exceptionally soft and so not great for piping! If you need a decorator’s icing, you can still use this recipe, but only beat the butter for two minutes or so, until it becomes creamy, and not so long that it softens and changes color.

The recipe calls for both butter and shortening. For shortening, I use beef tallow or lard, which probably sounds strange, but I adamantly avoid ultra-processed foods. Of course, vegetable shortening would absolutely work, or you can use all butter if you prefer, but shortening will keep the texture from becoming too soft. If you use all butter, you may have to chill the icing for a bit before spreading it on the cake.

And, yes, this recipe does contain raw eggs! If you’re serving it to someone who’s very old, very young, immunocompromised, pregnant, or nursing, or if you’re concerned about the safety of raw eggs for any reason, you can omit the eggs. The icing won’t be as rich and flavorful, but it will still be very creamy and delicious! And should you store the iced cake in the fridge? Yes, probably.

Creamy Vanilla Icing Recipe

3/4 cup butter, softened

1/4 cup shortening (lard, tallow, or vegetable shortening)

2 teaspoons vanilla extract

2 eggs

Pinch of salt

4 cups powdered sugar, sifted

Heavy cream or milk to thin as needed

Using an electric mixer or stand mixer with the beater attachment, beat the butter and shortening together on medium speed until the mixture becomes almost white and resembles soft whipped cream. This may take about 10 minutes. Scrape the bowl occasionally.

Turn mixer to low and beat in vanilla, eggs, and salt until fully incorporated. Add the powdered sugar gradually, one cup at a time. Scrape the bowl after each addition.

Once all of the sugar is beaten in, mix in a splash of cream or milk only if needed to thin the icing to spreading consistency.

This recipe makes enough icing to fill and frost two 9-inch layer cakes.

If you make this recipe, please let me know what you think in the comments below!

If you’re a fellow vintage lover, be sure to check out our online shop, Pink Nose Vintage. We’re happy to offer readers of our blog 20% off purchases! Please use coupon code PNVBLOG at checkout.

Creamy Vanilla Icing Recipe with Raw Eggs Read More »

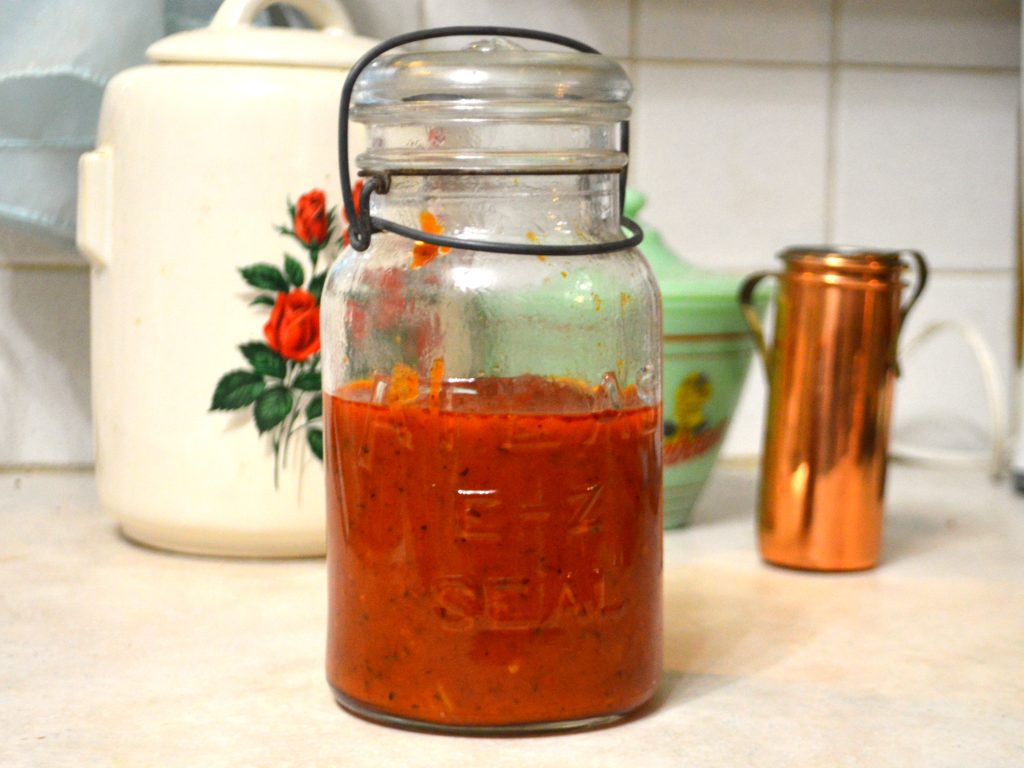
Homemade pizza sauce in a vintage bail-top canning jar.

Homemade Pizza Sauce from Tomato Juice

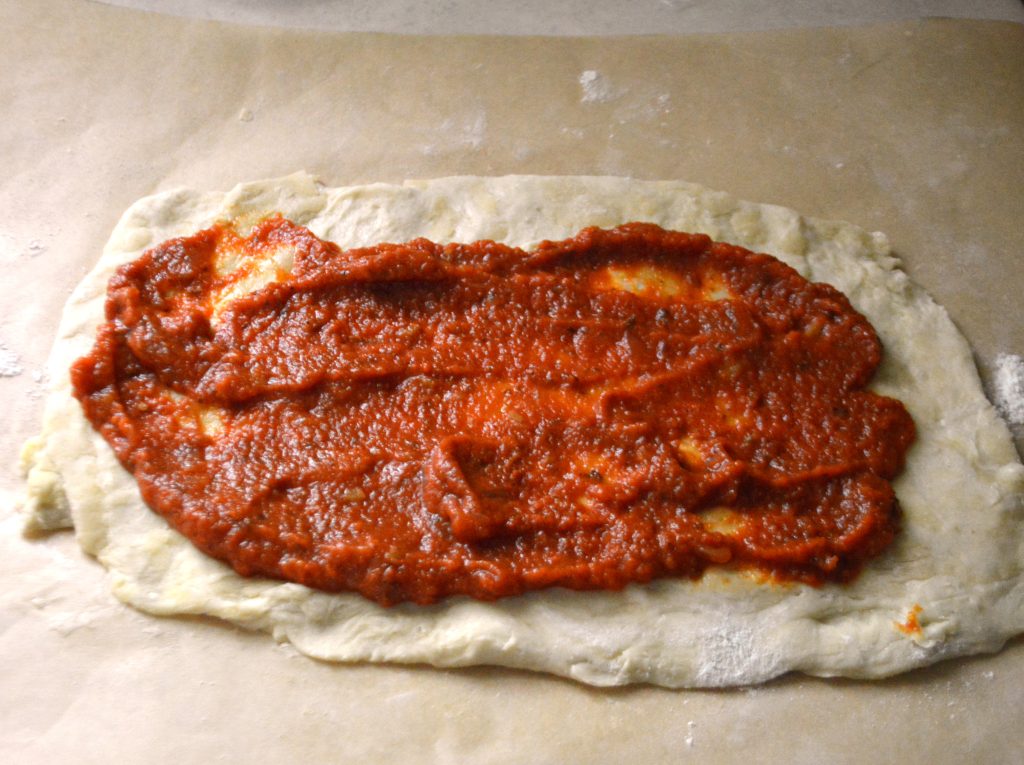
A couple of weeks ago, I was planning a birthday party for my daughter at which I planned to serve pizza rolls. While checking ingredients, I realized that I had no tomatoes to make sauce, but I did have two quarts of tomato juice left over from Bloody Marys. Knowing that I was unlikely to use the juice for anything else, I decided to try making my pizza sauce from the juice, although I was a little concerned that juice would have too much liquid to cook down into a nice, thick sauce. Quite the contrary – it turned out that the sauce was a great way to use up the leftover tomato juice!

In fact, juice was an even better choice than tomatoes in some ways. Because the juice is nice and smooth, you can skip the step of peeling and seeding tomatoes or removing the skins and seeds with a food mill. The sauce ended up velvety-smooth and rich right out of the pan. Best of all, cooking the juice down actually took less time than cooking down chopped tomatoes!

This rich, hearty sauce would also be excellent over pasta!

Here’s how I made mine; you can, of course, substitute juice for fresh or canned tomatoes in your own favorite recipe. For reference, I ended up with about three cups of sauce from two quarts of juice.

From-Scratch Pizza Sauce with Tomato Juice

1 tablespoon lard or other cooking fat

1/4 cup finely chopped onion

4 cloves garlic, minced

2 teaspoons dried Italian herbs or 2 tablespoons chopped fresh basil, parsley, and oregano

1/4 teaspoon red pepper flakes

2 quarts tomato juice

Salt and ground pepper to taste

In a 4-quart saucepan, warm the cooking fat over medium heat. Add onions; sauté until translucent and tender. Add the garlic, Italian herbs, and red pepper flakes and sauté a minute longer until fragrant. Slowly add the tomato juice, stirring to combine. Reduce the heat to low, cover the pan with a splatter screen, and allow the sauce to simmer, stirring occasionally, until reduced to your preferred consistency. This should take about 10 to 15 minutes. Once the sauce is reduced, taste for seasoning and add salt and ground pepper and more red pepper if desired. Yield: About 3 cups of sauce.

If you make this recipe, please let me know what you thought in the comments below!

If you’re a fellow vintage lover, be sure to check out our online shop, Pink Nose Vintage. We’re happy to offer readers of our blog 20% off purchases! Please use coupon code PNVBLOG at checkout.

Homemade Pizza Sauce from Tomato Juice Read More »

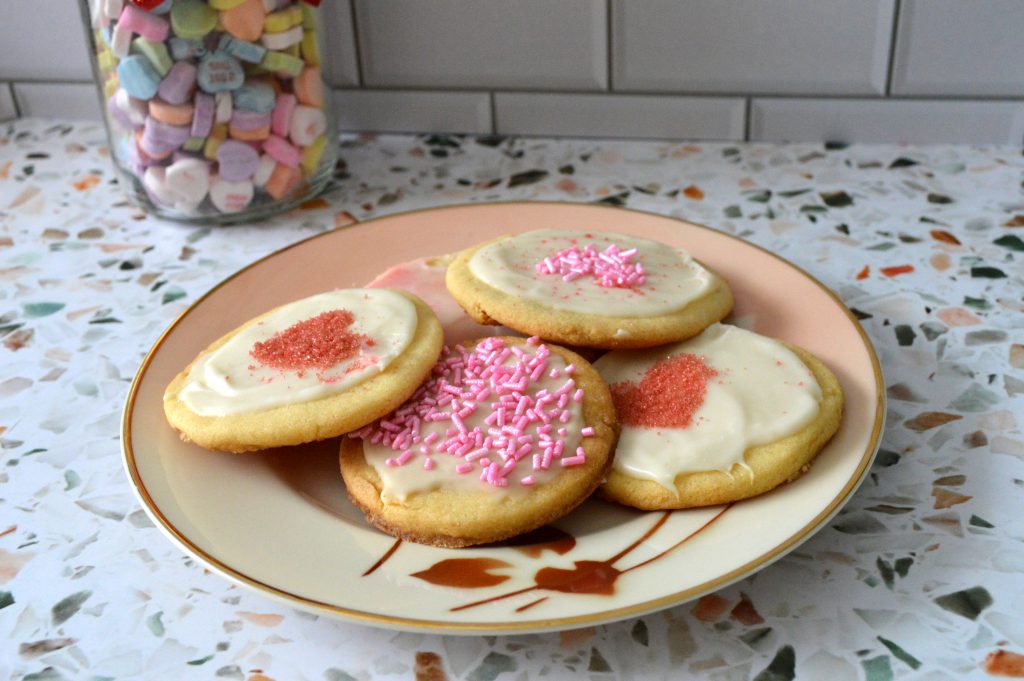
A plate of sugar cookies with white icing, pink sprinkles, and red sugar on a kitchen counter.

Mamie Eisenhower’s Sugar Cookies

These are the perfect sugar cookies – chewy, soft, and with a delightful vanilla flavor.

I got this recipe years ago from a work friend who got it from a magazine (sorry, I don’t know which one!) that claimed that this was Mamie Eisenhower’s own recipe that she served to visiting dignitaries. I don’t know how accurate that origin story is, but I do know that this is the only sugar cookie recipe I’ve ever tried that comes out just the way I want it every time I make it! I suspect that using egg yolks and cream instead of whole eggs and milk is the secret. I usually roll these to about 1/4 inch thick and bake for 8 minutes, which results in a soft, tender cookie. If you like a crispy cookie, roll the dough thinner and/or bake a few minutes longer. Chewy or crispy, the flavor is superb!

Mamie Eisenhower’s Sugar Cookies

1 1/2 cups flour

1/2 tsp salt

1 tsp baking powder

1/2 cup butter, softened

1 cup sugar

2 beaten egg yolks

1 tsp vanilla

1 tbsp heavy cream

Whisk flour, baking powder, and salt in a small bowl. Cream butter. Add sugar slowly and beat until fluffy. Stir in well-beaten egg yolks and vanilla. Add dry ingredients alternately with cream. Chill at least 1 hour.

Roll to desired thickness and cut with a cookie cutter or the edge of a drinking glass dipped in flour. Sprinkle with sugar and bake at 375 degrees F for 8 to 12 minutes (time will depend on thickness of dough and desired crispness).

I ice these with:

1 cup powdered sugar, sifted, stirred together with 2 tsp vanilla extract., a few drops of liquid food coloring, if desired, and enough cream to thin to spreading consistency.

Mamie Eisenhower’s Sugar Cookies Read More »

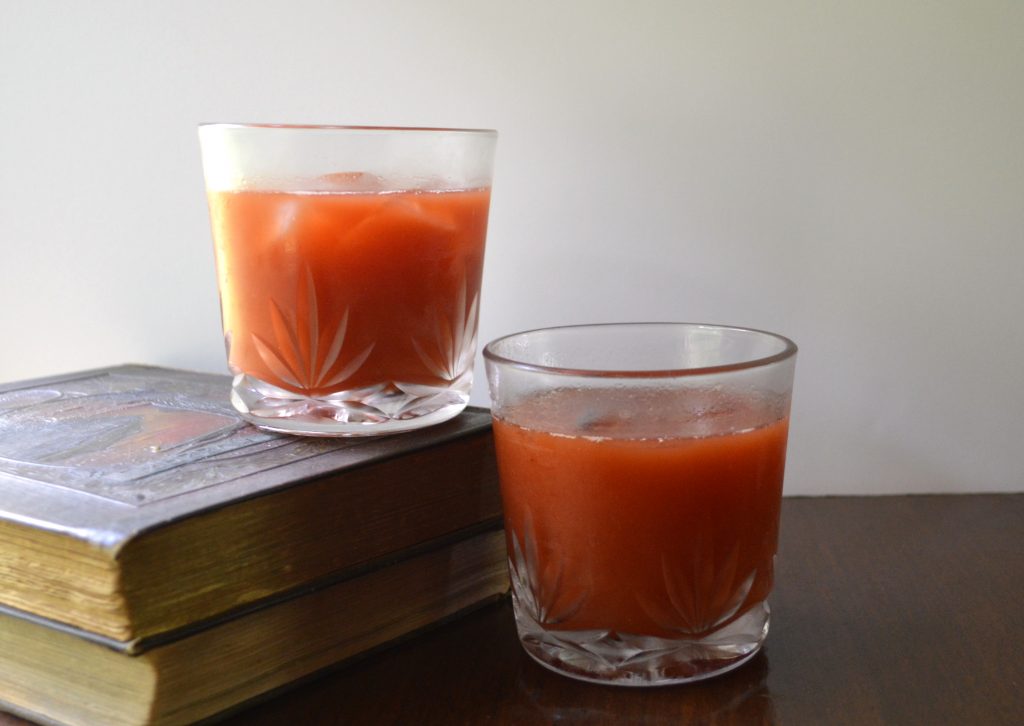
Image of two Bloody Marys in vintage crystal rocks glasses with antique books

An Easy Bloody Mary Recipe from the 1950s

Simple, easy Bloody Marys are a classic savory cocktail.
Before Bloody Marys became firey hot and topped with outlandish garnishes, they were a simple savory cocktail. This easy Bloody Mary is based on an authentic 1950s recipe. Serve it up at your next brunch and you’re sure to get compliments!

Easy Bloody Marys

Ingredients:

  • 6 jiggers tomato juice (9 fluid ounces; 1 cup plus 2 tablespoons)
  • 3 jiggers vodka (4.5 fluid ounces; 1/2 cup plus 1 tablespoon)
  • 1 pony lemon juice (1 fluid ounce; 2 tablespoons)
  • 1 teaspoon Worcestershire sauce
  • Pinch of salt
  • Pinch of ground black pepper
  • 2 dashes Angostura bitters

Combine ingredients in a shaker with ice; strain into chilled rocks glasses. Serve with ice if desired.

This recipe makes two cocktails. If you’re serving a crowd, double or triple the ingredients and blend in a blender with ice.

Living your best vintage life? Check our website for articles you might enjoy!

www.pinknosevintage.com/category/recipes

For vintage cocktail glasses, recipe books, and more, visit our online vintage shop!

Pink Nose Vintage, Ltd. on Etsy

An Easy Bloody Mary Recipe from the 1950s Read More »