
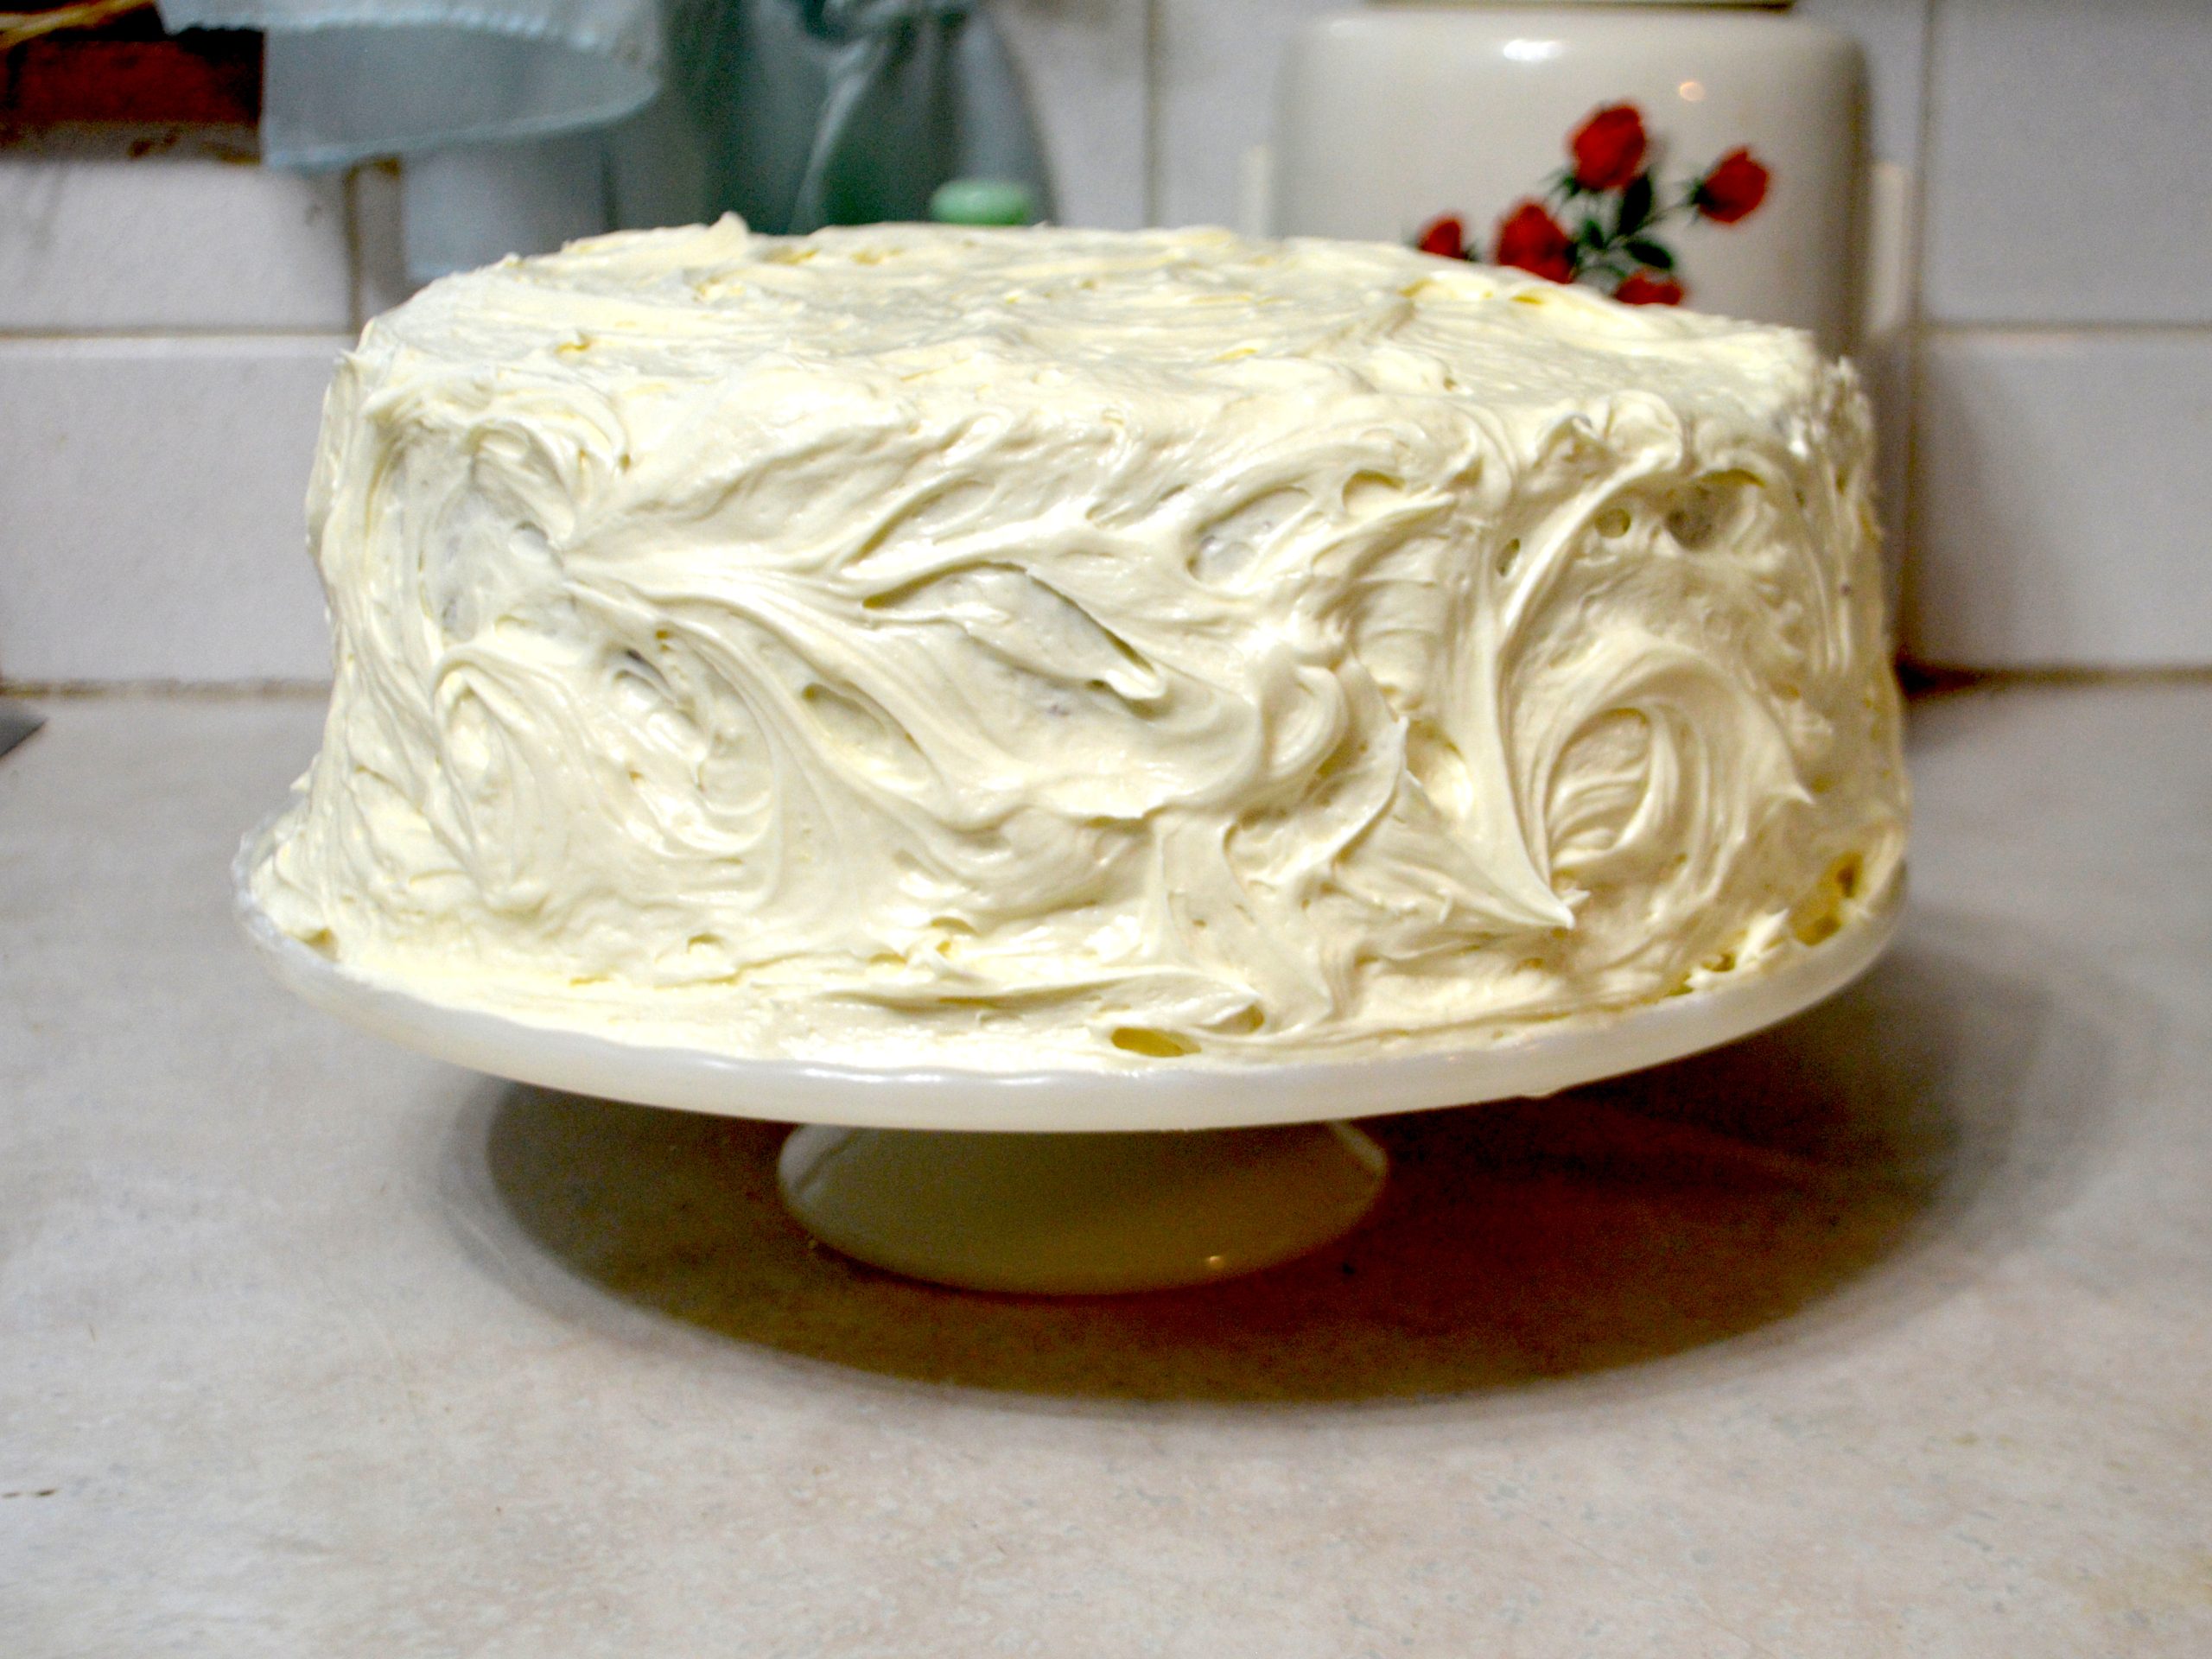
In spite of all the health authorities who tell me not to, I absolutely love using raw eggs in recipes that are intended to be sweet and creamy. Eggs add a velvety texture and a rich flavor that can’t be matched. In this particular recipe, they also add color, transforming what would be a bright white icing into a muted ivory shade that’s perfect for retro-looking cakes or cookies.
The trick to making this icing into a fluffy, ivory-colored cloud is to beat the butter much longer than most icing recipes recommend. For the perfect smooth, creamy texture, the butter should be beaten until it turns almost white and looks very much like soft whipped cream.

This does make the icing exceptionally soft and so not great for piping! If you need a decorator’s icing, you can still use this recipe, but only beat the butter for two minutes or so, until it becomes creamy, and not so long that it softens and changes color.
The recipe calls for both butter and shortening. For shortening, I use beef tallow or lard, which probably sounds strange, but I adamantly avoid ultra-processed foods. Of course, vegetable shortening would absolutely work, or you can use all butter if you prefer, but shortening will keep the texture from becoming too soft. If you use all butter, you may have to chill the icing for a bit before spreading it on the cake.
And, yes, this recipe does contain raw eggs! If you’re serving it to someone who’s very old, very young, immunocompromised, pregnant, or nursing, or if you’re concerned about the safety of raw eggs for any reason, you can omit the eggs. The icing won’t be as rich and flavorful, but it will still be very creamy and delicious! And should you store the iced cake in the fridge? Yes, probably.
Creamy Vanilla Icing Recipe
3/4 cup butter, softened
1/4 cup shortening (lard, tallow, or vegetable shortening)
2 teaspoons vanilla extract
2 eggs
Pinch of salt
4 cups powdered sugar, sifted
Heavy cream or milk to thin as needed
Using an electric mixer or stand mixer with the beater attachment, beat the butter and shortening together on medium speed until the mixture becomes almost white and resembles soft whipped cream. This may take about 10 minutes. Scrape the bowl occasionally.
Turn mixer to low and beat in vanilla, eggs, and salt until fully incorporated. Add the powdered sugar gradually, one cup at a time. Scrape the bowl after each addition.
Once all of the sugar is beaten in, mix in a splash of cream or milk only if needed to thin the icing to spreading consistency.
This recipe makes enough icing to fill and frost two 9-inch layer cakes.
If you make this recipe, please let me know what you think in the comments below!
If you’re a fellow vintage lover, be sure to check out our online shop, Pink Nose Vintage. We’re happy to offer readers of our blog 20% off purchases! Please use coupon code PNVBLOG at checkout.
0 Comments